We love nothing more than giving every room in your home a nice, deep clean. We have a lot of experience when it comes to giving the bathroom a deep clean. After years of trial and error, here is the most effective way to deep clean the bathroom in 9 easy steps.
Our Favorite Tools for Deep Cleaning the Bathroom
When it comes to building the perfect set of cleaning tools, there are a few things no homeowner should be without, especially when it comes to the bathroom. Below is our list of essential deep cleaning tools:
- Toilet Brush
- Bowl Cleaner
- Rubber Gloves
- All-Purpose Cleaning Spray
- Baking Soda or other Powder Cleaner
- Glass Cleaner
- Clean Rags
- Paper Towels
- Vacuum
- Wet mop or wet Swiffer
How to Deep Clean the Bathroom: Step by Step Instructions
1. Start by De-Cluttering
Your first step in deep cleaning the bathroom should be to put on some good music or an interesting podcast. Something to keep your mind stimulated while working.
Now that you’re ready to deep clean the bathroom, start by removing any bathmats, rugs, or towels. Throw them in the washing machine and give them a good rinse.
Now those are out, take stock of what you have in the bathroom. Is there any way you can save counter or floor space? More stuff around means more opportunities for dust to collect.
2. Then a Dry Dust
So, start with the dusting. And when we say dusting, we mean everything. From the light fixtures and any exposed fans to the nooks and crannies on the floor. Dust can hide out almost anywhere.
3. Go from Top to Bottom
Of course, we have another rule before you actually start dusting. That rule is to start from the top and work your way to the bottom. This can apply for every room in your home.
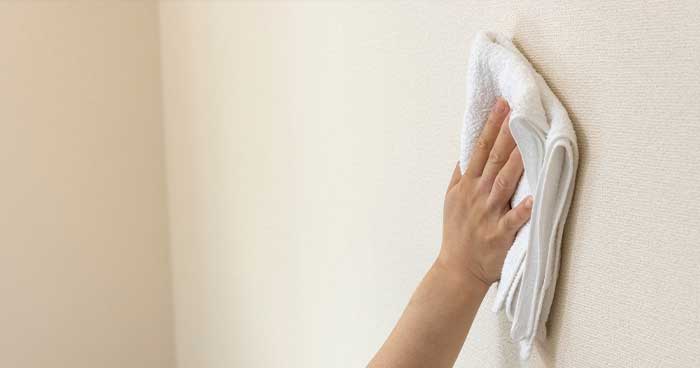
Start with the lights and move your way down to décor. This method ensures you can pick up excess dust as you go instead of finding random clumps that may have been left behind.
After you finish the walls, move on to the countertop. Be sure to dust anything that’s on your countertops as well.
The next step is to dust the outside of the toilet. Don’t forget to dust behind the toilet! Then sweep or vacuum everything up.
4. Clean the Glass
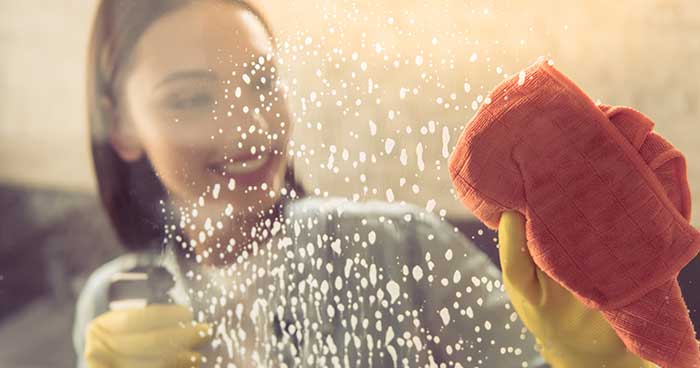
Since the dry dusting is done, it’s time to pull out the class cleaner. Start by spritzing the mirror, windows, and shower door if you have one.
Make sure to wipe everything down with a microfiber cloth or even an old t-shirt. Things like washcloths and paper towels can leave a streaky residue behind.
5. Time for the Fixtures
Depending on the material, you should go a little easy on these pieces. Simply reuse the cloth that cleaned the windows. If needed, spray a bit more glass cleaner.
When it comes to stuck on buildup or mineral deposits, we recommend gently scrubbing them with a used toothbrush. That should break everything up.
6. Clear and Clean the Countertop
The countertops can take a little extra time depending on how much is on them. Start by spraying down the soap dispenser and any other items that need to be washed.
Then, move everything off the counter and put in a safe place. Give the counter a once over with the duster to collect any excess debris that may have dislodged during your cleaning process.
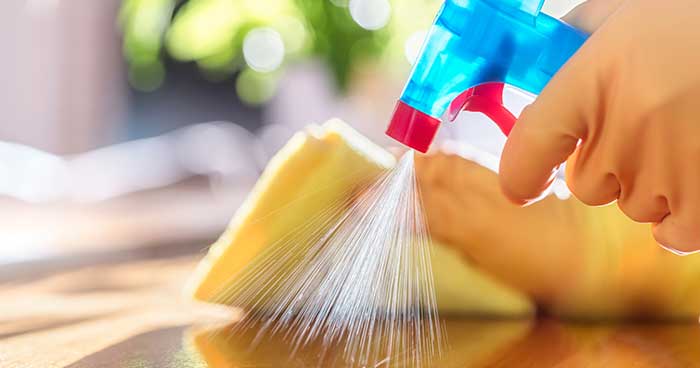
Finally, use the all-purpose cleaning spray and wipe down the counters with paper towels or a washcloth. The only caveat to this is if you have granite countertops. Granite has its own set of cleaning rules.
Make sure to clean the countertop before tackling the inside of the sink, shower, or tub. This way, any excess debris that was knocked loose from the counter can be picked up.
7. Scrub the Porcelain
Are you ready to get down and dirty? Well, not too dirty. This is when we recommend using baking soda or some other gentle scrubbing agent, like Bar Keepers Friend.
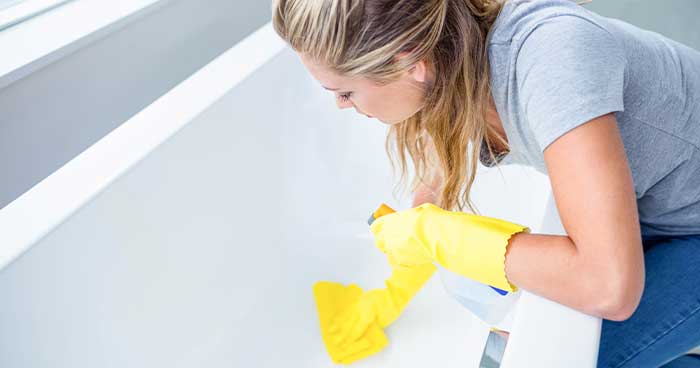
Sprinkle the cleaning powder over the sink or tub, make sure to cover every part. Next, wet a non-abrasive scrubber, like a mesh sponge, and start scrubbing.
Begin with the rim or top of the bowl and work your way down. This allows you to clean as you go and get the best scrub possible.
After everything is properly scrubbed, run some water to flush out any cleaning residue.
8. Tackle the Toilet
Next, it’s time for the seat and lid. Use the all-purpose spray and give it a good spritz. Wipe it all down and voila, a nice clean toilet seat. Just be sure to get the underside of the seat as well.
Sprinkle your baking soda or other cleaner all throughout the bowl. Just like everything else, start at the top lip and work your way down. Scrub with the toilet brush.
Flush the toilet to rinse everything and you’re done with the toilet!
9. Leave the Floors for Last
You’re almost done! It’s just time for the floors. Start with a quick sweep or vacuum to get up any dust or debris that may have been knocked loose during your cleaning session.
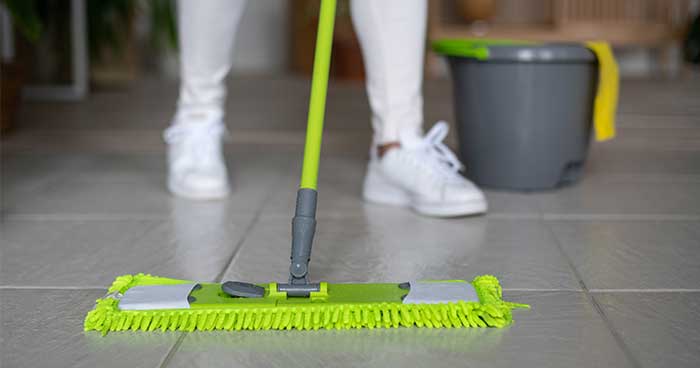
All you need to do is get your mop and clean the tiles until they’re shiny. Once the floor is dry, you can put back the rugs and bathmats.
Now, just sit back and admire how clean your bathroom is.
Don’t Hesitate to Reach Out
Cleaning the bathroom is easy work when compared to the rest of your plumbing system. If you have any drain or plumbing issues, call the number at the top of the screen or click here to request an appointment online.


